How Can You Install Paintable Cable Trunking in Under 10 Minutes?
November 12, 2026
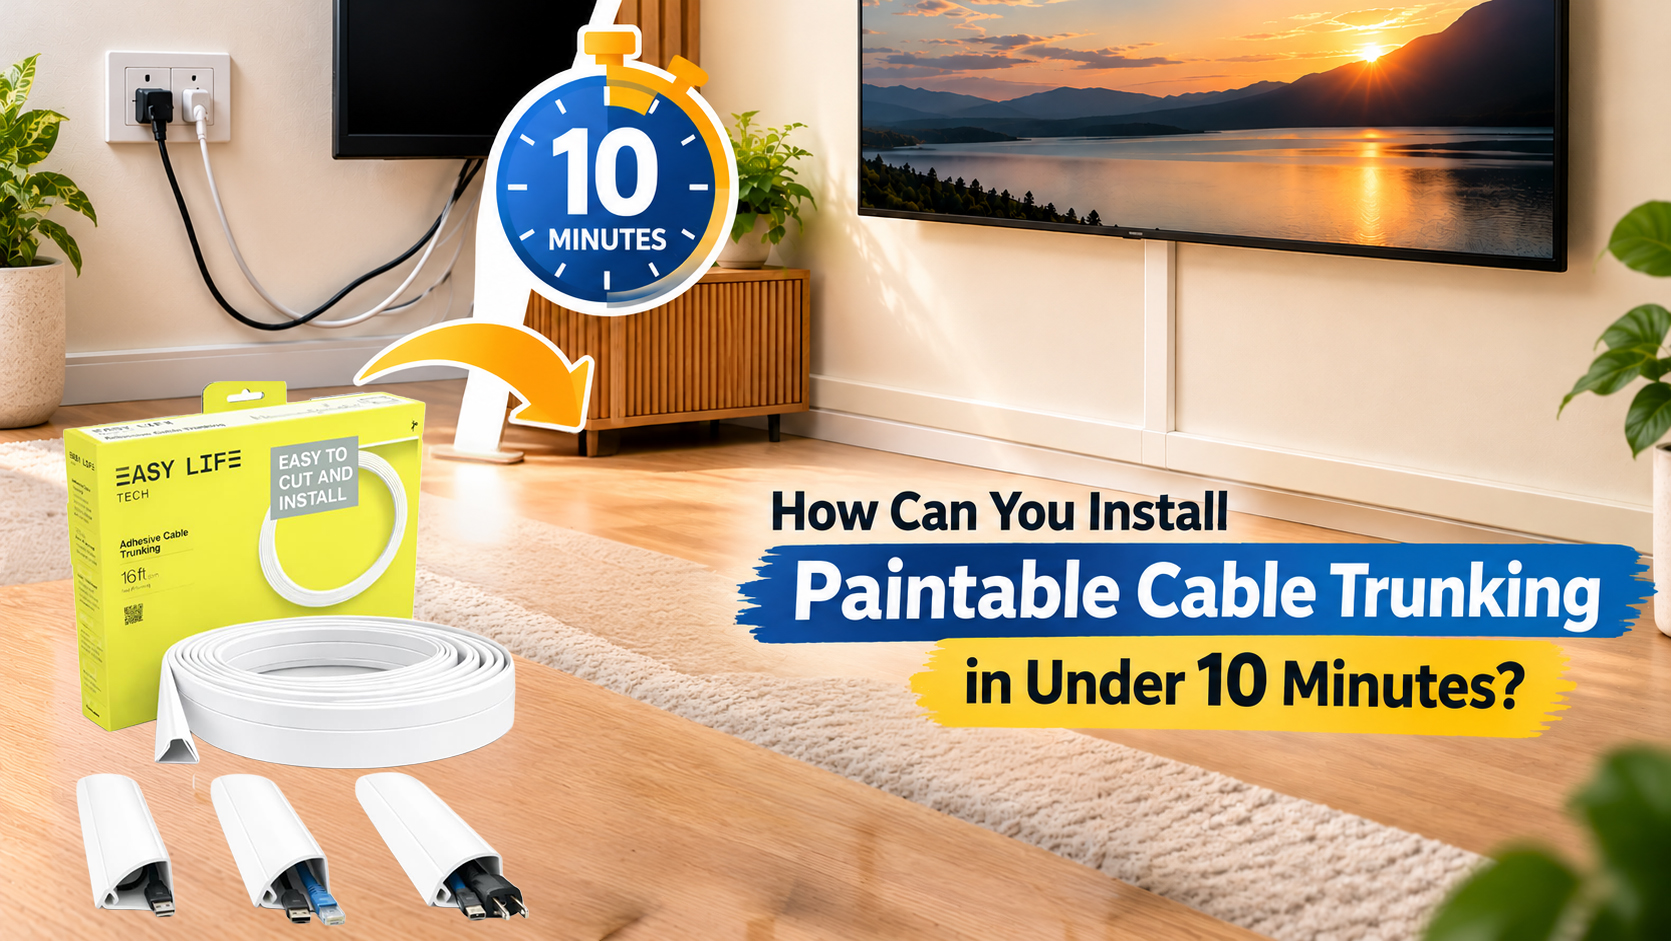
How can you install paintable cable trunking in under 10 minutes without drilling into walls, hiring an electrician, or ending up with a crooked channel that looks worse than the cords it was meant to hide? The answer is a simple, well-ordered cable trunking installation that starts with a clear plan and finishes with a coat of paint. Once the channel is in place, it blends into the wall and leaves nothing visible but a clean line. This guide walks through each stage so the job is quick, tidy, and easy to repeat in any room.
Quick Answer
To complete a cable trunking installation quickly, measure the route, cut the trunking to length, clean the wall, fix the channel in place, lay in the cables, and close the lid. A paintable cable cover can then be painted to match the wall so it almost disappears. EasyLife Tech Paintable Cable Trunking makes this form of DIY cable management practical for beginners, since it needs only a few basic tools. Timing depends on the length of the run, but a short wall can be finished in minutes.
What You Need Before Cable Trunking Installation
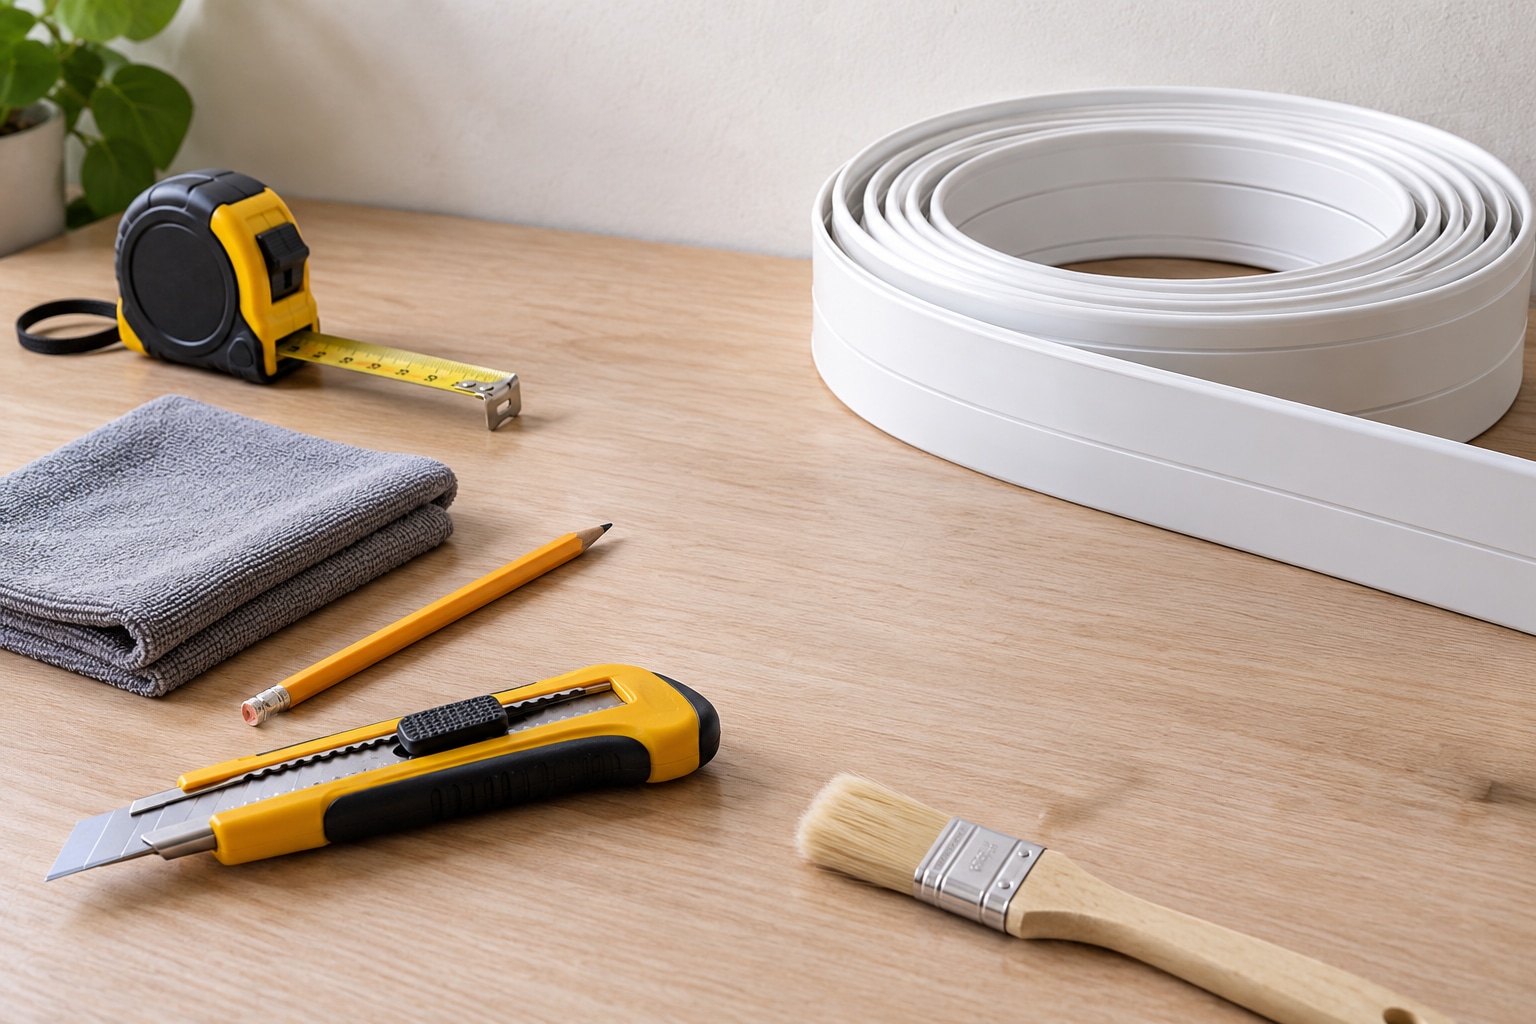
Gathering everything first is the biggest time saver. You will need a tape measure, a pencil, a sharp cutting tool, a cloth for cleaning the wall, and a spirit level if you want a perfectly straight line. A small paintbrush and wall paint complete the kit for the finishing stage.
[Image placeholder: Flat lay of tape measure, pencil, cutting tool, cloth, and paintable cable trunking on a work surface]
Why Choose a Paintable Cable Cover for Your Walls?
Standard trunking often stands out against a coloured wall. A paintable cable cover solves this by taking on the same shade as its surroundings, so the channel looks like part of the room rather than an add-on. It is a practical choice for living rooms, bedrooms, and offices where appearance matters.
It also suits rented homes and well-decorated spaces where cords must be hidden without altering the walls. A neat wall wire cover keeps television leads, lamp cords, and chargers out of sight while keeping them easy to reach.
How to Install Paintable Cable Trunking Step by Step
Plan and Measure the Route
Trace each cable from its device to the outlet and choose the straightest path along the wall. Measure the full length and mark the route lightly with a pencil. A short, direct run keeps the cable raceway installation simple and reduces the number of cuts.
Cut the Trunking to Length
Transfer your measurements to the trunking and cut each section cleanly, making sure the ends are square. It is wise to cut slightly long and trim once the fit is confirmed.
Clean the Wall and Fix the Channel
Wipe the wall along the marked route so dust and grease do not weaken the fixing. Press the trunking firmly into place, working from one end to the other and checking it against the pencil line. Follow the product guidance on how the channel should be secured.
Lay in the Cables and Close the Lid
Place the cables inside the channel without crossing them, then press the lid along its full length. Leave a little slack at each end so plugs are not strained. This is the final step of the cable trunking installation before painting.
[Image placeholder: Hands pressing the lid closed on paintable cable trunking fixed along a wall]
How to Paint the Cable Trunking for a Seamless Finish
Painting turns a functional channel into a hidden one. Lightly wipe the surface to remove dust, then apply thin, even coats of wall paint with a small brush or roller. Thin coats dry more smoothly than one heavy layer and keep the lid closing properly.
Allow the paint to dry fully before touching the channel or moving furniture against it. Matching the wall colour closely gives the best result, and a second coat can be added if the first looks patchy. Done well, the wall wire cover becomes almost impossible to spot.
[Image placeholder: Paintable cable trunking painted to match a cream wall behind a television]
Buying Guide Questions for Paintable Cable Trunking
How long does a cable raceway installation really take?
A short run of a metre or two can be fixed in a few minutes once the route is planned. Longer walls and corners take more time, and painting adds drying time.
Do I need special tools for DIY cable management?
No, a tape measure, cutting tool, and cleaning cloth are enough for most jobs. A spirit level is helpful for keeping long runs straight.
What size should I choose?
Pick a channel that holds your thickest bundle of cables without forcing the lid closed. If you plan to add devices later, choose a little extra space.
Can I paint over the trunking with any paint?
Most wall paints work well on a paintable cable cover, but it is best to check the product guidance first. Apply thin coats and let each one dry before closing the lid.
Ready for Your Cable Trunking Installation?

A fast cable trunking installation comes down to planning the route, cutting accurately, and fixing the channel cleanly. Add a coat of paint and the paintable cable cover disappears into the wall, leaving a tidy room that looks professionally finished. With simple DIY cable management and a reliable wall wire cover, the whole project can be done in a single short session. Choose a straight route, take your time with the finish, and enjoy walls free of visible cords.