

How to Hide TV Cables Without Cutting Walls The Ultimate Easy DIY Guide starts with a common frustration: if you’ve recently invested in a high-definition Smart TV and a sleek wall mount, you know the disappointment of finishing the installation only to realize your beautiful new setup is marred by a “waterfall” of black and grey power cords and HDMI cables. It’s a common dilemma—you want the professional, floating-screen look, but the thought of cutting into drywall, dealing with insulation, or hiring an expensive electrician is overwhelming.
The good news is that you don’t have to compromise your home’s structural integrity or your budget to achieve a minimalist aesthetic. This guide will show you how to hide TV cables without cutting walls using a simple, effective, and professional-looking DIY solution: cable trunking.
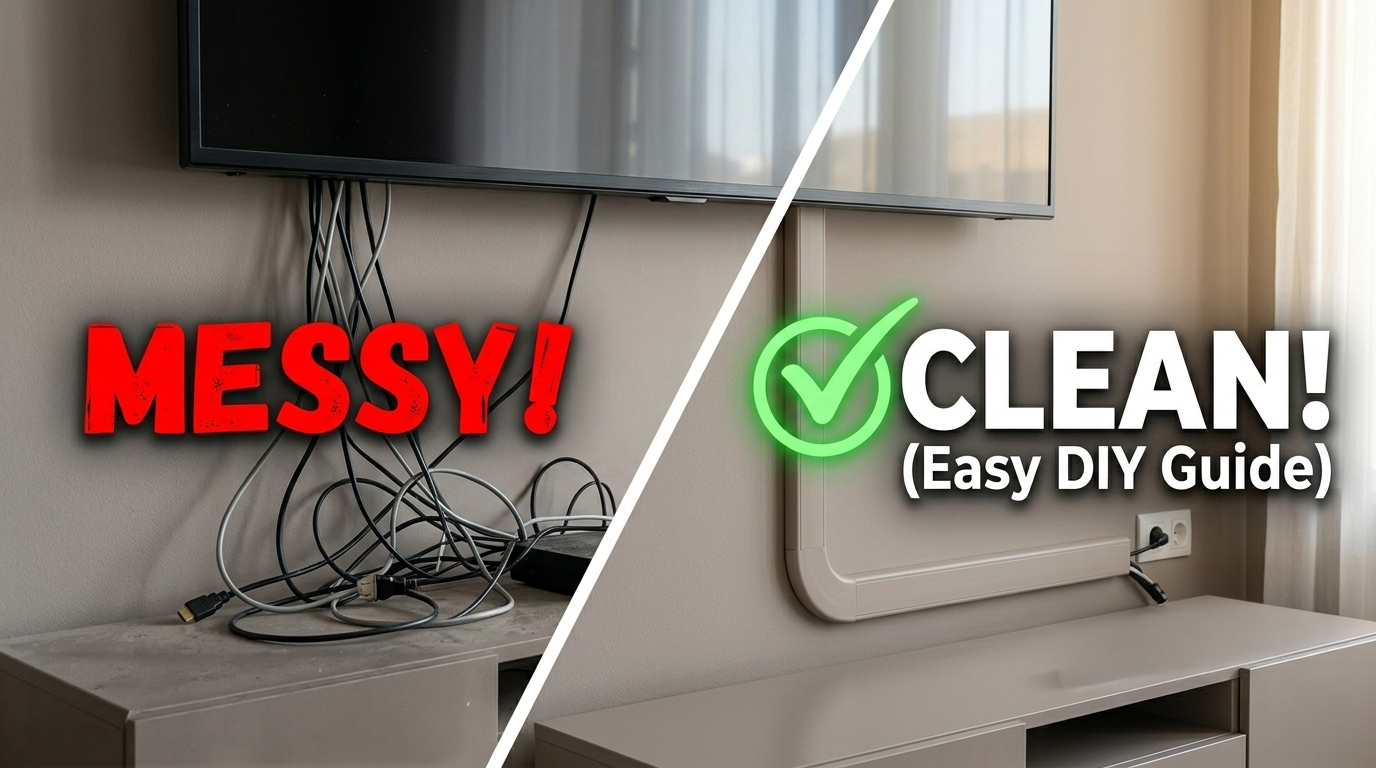
Why Exposed TV Cables Ruin Your Setup
Before we dive into the “how,” it is important to understand why cable management should be a priority for any homeowner or renter. Exposed wires are more than just an eyesore; they impact the functionality and safety of your living space.
1. A Cluttered and Unorganized Appearance
Even the most expensive interior design can feel “cheapened” by cable clutter. Exposed wires break the clean lines of your walls and distract the eye from the screen, making the room feel smaller and more chaotic.
2. Increased Risk for Kids and Pets
Loose, hanging cables are a significant safety hazard. Curious toddlers or pets can pull on them, potentially causing the TV to tip or causing electrical accidents. Securing these wires against the wall is an essential step in “baby-proofing” or “pet-proofing” your home.
3. Dust Buildup Around Loose Wires
Cables are notorious “dust magnets.” Because they are difficult to wipe down when they are tangled in a bunch, they often collect thick layers of grime that can aggravate allergies and make your home feel less clean.
4. Difficulty Cleaning and Maintaining
Vacuuming or dusting around a nest of wires is a chore. Often, homeowners avoid cleaning those areas altogether to prevent accidentally unplugging a device or damaging a port.
What Is Cable Trunking and Why It Works?
Cable trunking (also known as a cable raceway or cord cover) is a slim, protective channel—usually made of high-quality PVC—that attaches directly to the surface of your wall. It acts as a “tunnel” for your wires, keeping them organized and invisible.
The Benefits of Cable Trunking:
- No Wall Damage: Unlike in-wall kits, trunking uses adhesive backing or small, discreet screws. This makes it the perfect solution for renters or those who don’t want to deal with drywall repair.
- Quick Installation: You can complete a standard living room project in less than 30 minutes.
- Protection: It keeps cables safe from being pinched, bent, or chewed by pets.
- Aesthetic Flexibility: Most trunking systems come in a neutral white but are designed to be painted. This allows them to blend seamlessly into your existing wall color.

Step-by-Step: How to Hide TV Cables Without Cutting Walls
Achieving a professional look is all about the preparation. Follow these steps to ensure your cable management is straight, secure, and subtle.
Step 1: Plan Your Route
Don’t just stick the trunking onto the wall immediately. Look at the distance between the bottom of your TV and the nearest power outlet or media console. If your outlet is directly below the TV, a straight vertical line is best. If the outlet is off to the side, plan a route that follows the natural lines of the room, such as along the top of a baseboard or tucked into a corner.
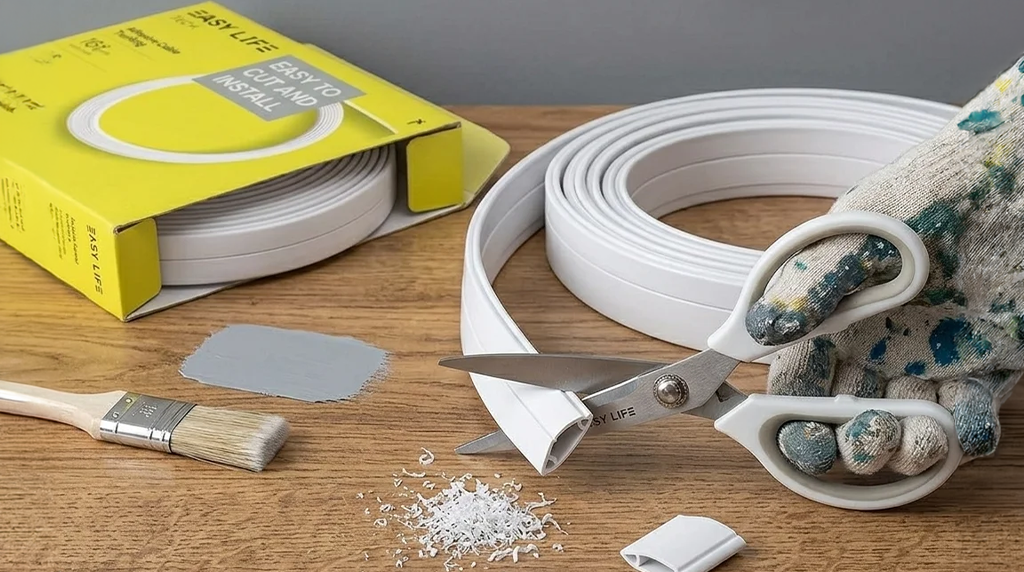
Step 2: Measure and Cut
Measure the length of your planned route. Most cable trunking kits, like those from EasyLife Tech, come in manageable sections that can be easily cut to size. You can use a fine-tooth hacksaw or even heavy-duty shears to trim the channel to your exact specifications.
Step 3: Prep the Surface and Attach
Clean the wall with a damp cloth to remove any dust that might interfere with the adhesive. Peel the backing off the adhesive strip on the back of the trunking and press it firmly against the wall.
Pro Tip: Use a bubble level to ensure your vertical lines are perfectly straight.
Step 4: Insert Your Cables
Open the trunking cover (most designs use a “snap-on” or “slide-on” mechanism). Gather your HDMI, power, and soundbar cables and lay them neatly inside the channel. Ensure there is no tension on the cables where they plug into the TV.
Step 5: Close and Secure
Snap the cover shut. Most modern kits include “elbow” or “T-junction” connectors to cover the gaps where two pieces of trunking meet at a corner, providing a continuous, polished look.
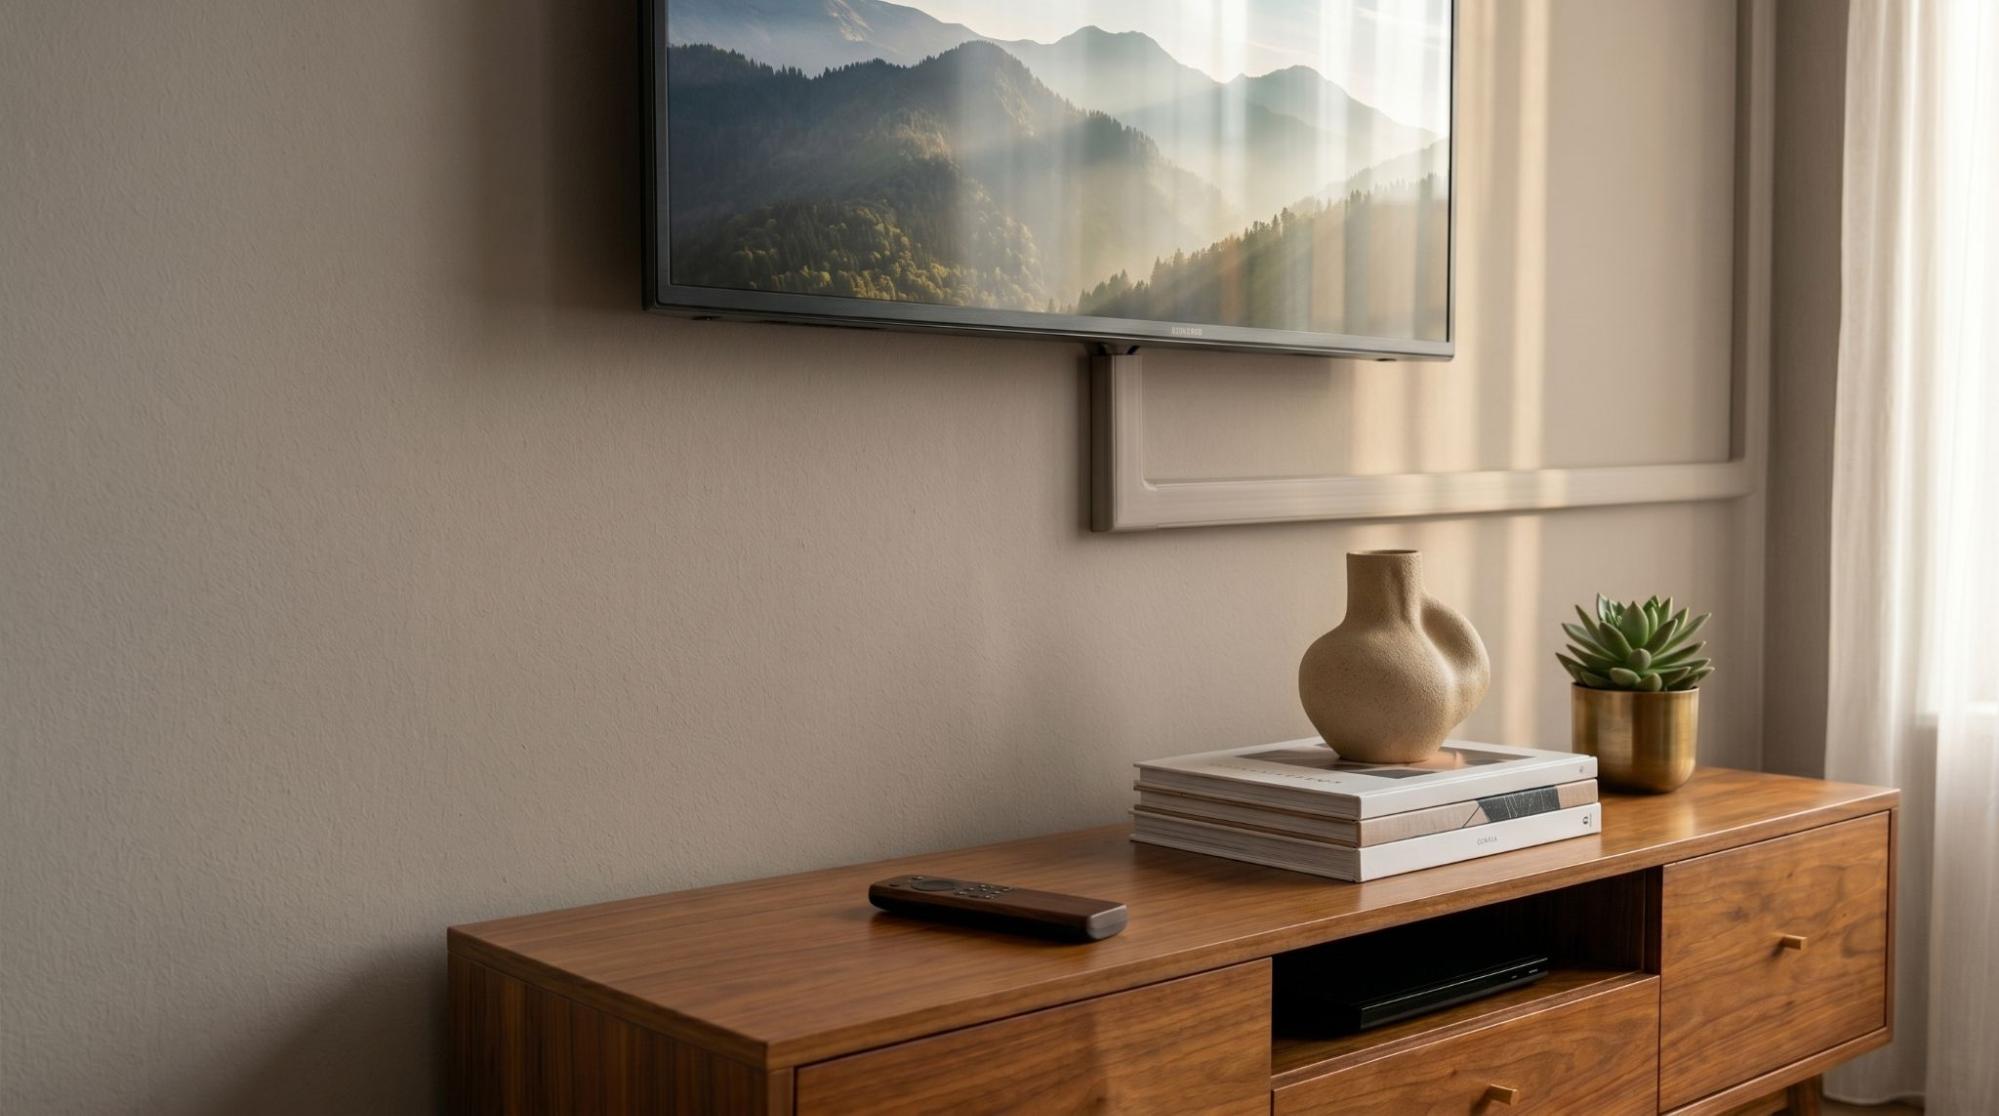
Step 6: Paint for a Seamless Look
If your walls aren’t white, you can lightly sand the surface of the trunking and apply a coat of your wall paint. This makes the trunking almost disappear, creating the illusion that the cables aren’t there at all.
Cable Trunking vs. In-Wall Solutions: Which is Right for You?
When deciding how to manage your wires, you generally have two choices: go through the wall or over the wall.
| Feature | Cable Trunking (Surface) | In-Wall Wiring |
|---|---|---|
| Difficulty | Easy DIY (No tools required) | Difficult (Requires saws and fish tape) |
| Cost | Affordable | Expensive (Parts + potential labor) |
| Wall Damage | None (Adhesive/Small screws) | Significant (Large holes in drywall) |
| Versatility | Easy to add or remove cables | Permanent; hard to update cables |
| Safety | High (Cables are encased) | Variable (Requires fire-rated cables) |
For most people, cable trunking is the superior choice because it offers a “clean” look with 10% of the effort and cost of in-wall solutions.
Pro Tips for a Professional Finish
To take your DIY project from “good” to “professional grade,” keep these expert tips in mind:
- Keep it Straight: Nothing ruins a setup faster than a crooked cord cover. Use a level or follow the vertical line of a door frame.
- Don’t Overstuff: If you have five or six thick cables, choose a wider trunking model. Forcing too many wires into a small channel can cause the cover to pop off or the adhesive to fail.
- Corner Concealment: If possible, run your trunking into the corner of a room. The natural shadows of a corner help the trunking blend in even better.
- Use Shorter Cables: If your media box is right below the TV, don’t use a 10-foot HDMI cable. Using the correct length prevents “cable bunching” at the ends of your trunking.
Where Else Can You Use Cable Trunking?
Once you see how much better your TV looks, you’ll likely want to apply these solutions to the rest of your home. Cable trunking is incredibly versatile:
- Home Office: Hide the “spaghetti” of monitor, keyboard, and printer cables under your desk.
- Gaming Stations: Organize the various power bricks and controllers for your consoles.
- Router & Tech Hubs: Keep your internet equipment looking tidy in the hallway or living room.
- Kitchen Appliances: Manage cords for coffee makers or air fryers that sit out on the counter.
Final Thoughts
You don’t need a degree in electrical engineering or a toolkit full of power saws to have a beautiful, modern home theater. By choosing a high-quality cable management kit, you can eliminate the clutter and hazards of exposed wires in a single afternoon.
If you’re ready to reclaim your living room and give your TV the professional backdrop it deserves, it’s time to stop looking at those wires and start hiding them.
Buy Now: Cable Trunking for Wall Cable Management
Hide your TV cables the easy way no mess, no stress, and no cutting walls.