How to Install Cable Trunking on Baseboards Without Damage
August 24, 2026
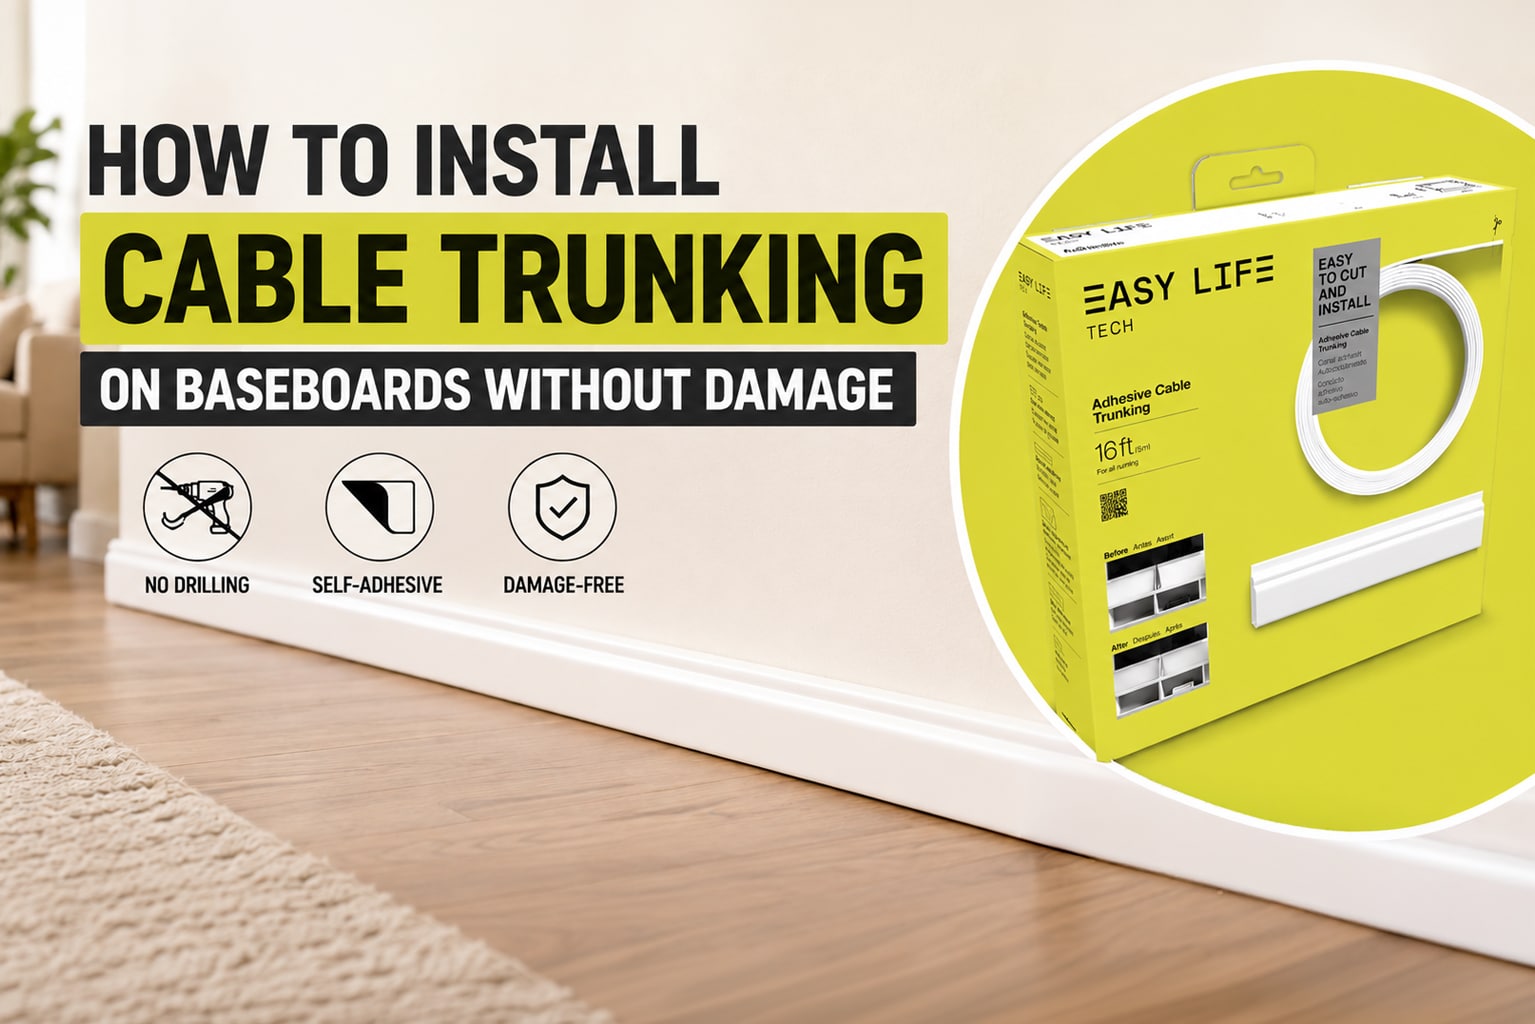
How do you install cable trunking on baseboards without damage to your paint, drywall, or your security deposit? It is the question most renters and homeowners ask right before they give up and let the cords stay tangled along the floor. The good news is that learning how to install cable trunking on baseboards is a lot simpler than it looks, especially with self-adhesive systems built for exactly this kind of no-drill installation. With the right prep and a few careful steps, you can get a clean, professional finish in under an hour, without calling in an electrician or leaving a single new hole in the wall.
How to Install Cable Trunking on Baseboards Without Damage
Clean the baseboard surface, measure and cut the trunking to length, route your cables into the base channel, then peel back the adhesive backing and press the trunking firmly along the baseboard. No screws or drilling are required, which keeps the installation fully damage-free and easy to remove later.
What You'll Need Before You Start
A short supply list makes the installation go faster and helps you avoid a mid-project trip to the store.
● Self-adhesive cable trunking sized for your cable bundle
● A tape measure for accurate baseboard measurements
● Rubbing alcohol and a cloth to clean the surface
● Scissors or a utility knife for trimming trunking to length
● Corner and end connector pieces, if your run includes turns
Step-by-Step: How to Install Cable Trunking on Baseboards
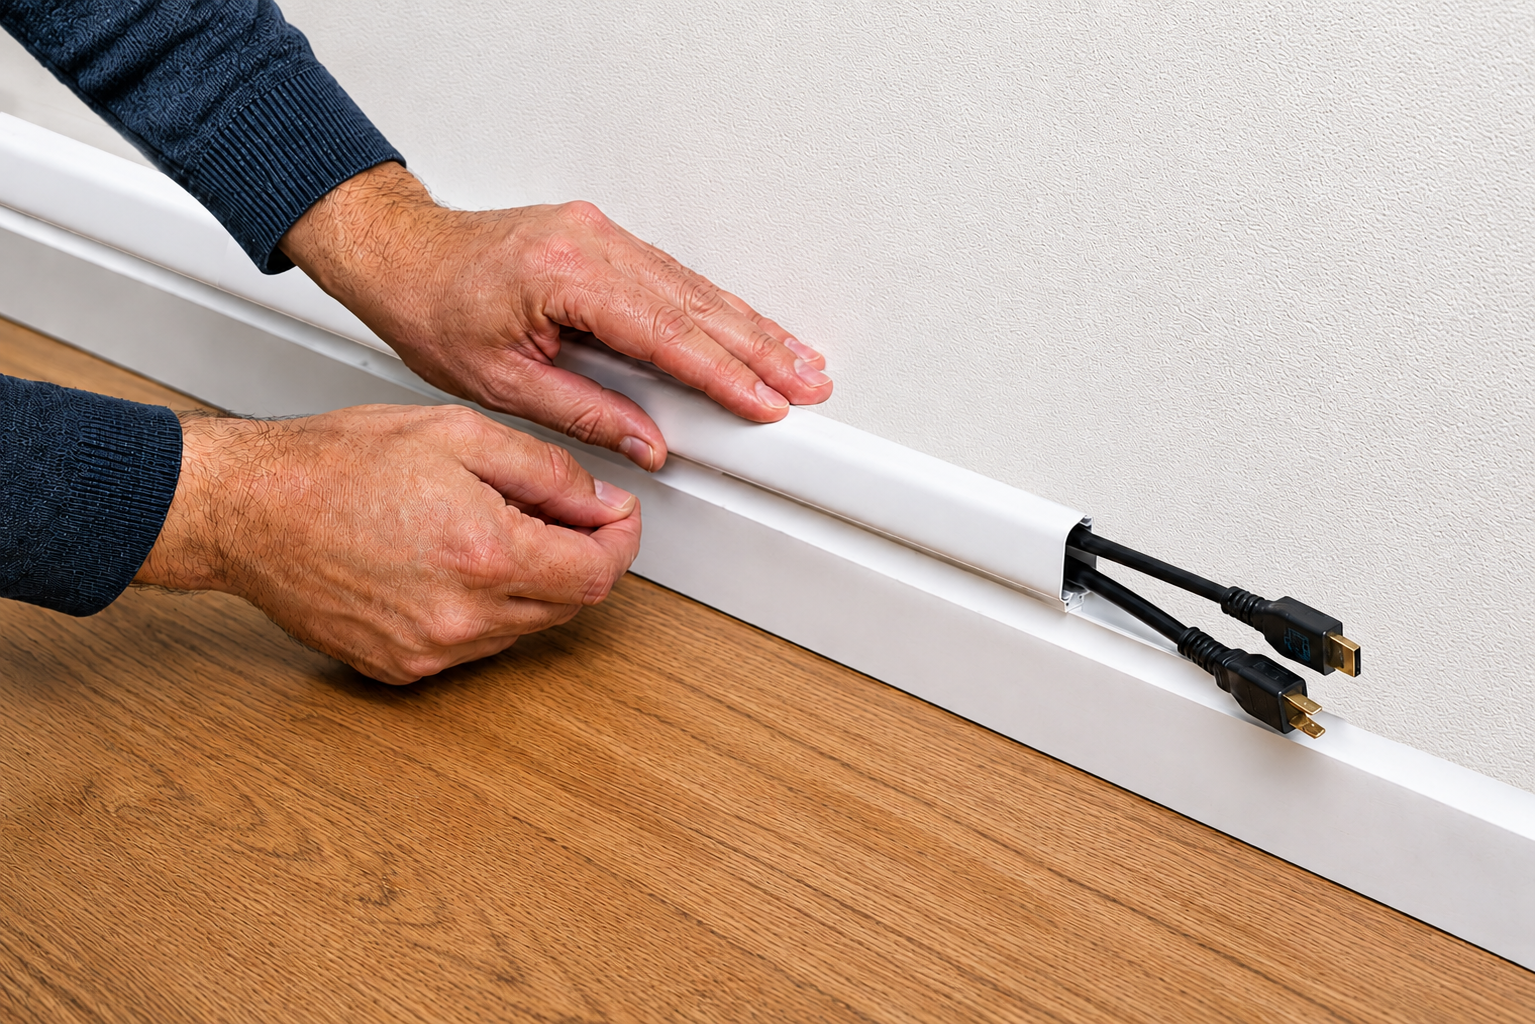
Once you have your materials ready, the installation itself comes down to five straightforward steps.
Clean and Prep the Baseboard
Wipe down the baseboard with rubbing alcohol to remove dust, grease, and any residue. Adhesive backing bonds best to a clean, dry surface, and skipping this step is one of the most common reasons trunking peels away early.
Measure and Cut the Trunking
Measure the length of baseboard you need to cover, then cut the trunking to size using scissors or a utility knife. Leave a small amount of extra length at corners so pieces can be trimmed precisely once positioned.
Route and Organize Your Cables
Open the base channel and lay your cables inside, grouping them neatly rather than letting them twist. This is the step that determines how well you hide baseboard cables, since a tidy channel keeps the front cover sitting flush once it snaps into place.
Peel, Stick, and Press the Trunking in Place
Peel back the adhesive liner in short sections as you go, pressing the trunking firmly against the baseboard. Working in sections prevents the strip from curling or catching dust before it makes contact with the wall.
Add Corners and End Pieces
Snap on any corner or end connector pieces to finish the run cleanly. These small components are what separate a professional-looking cord cover installation from one that looks obviously patched together.
How to Hide Baseboard Cables Without Damaging Paint
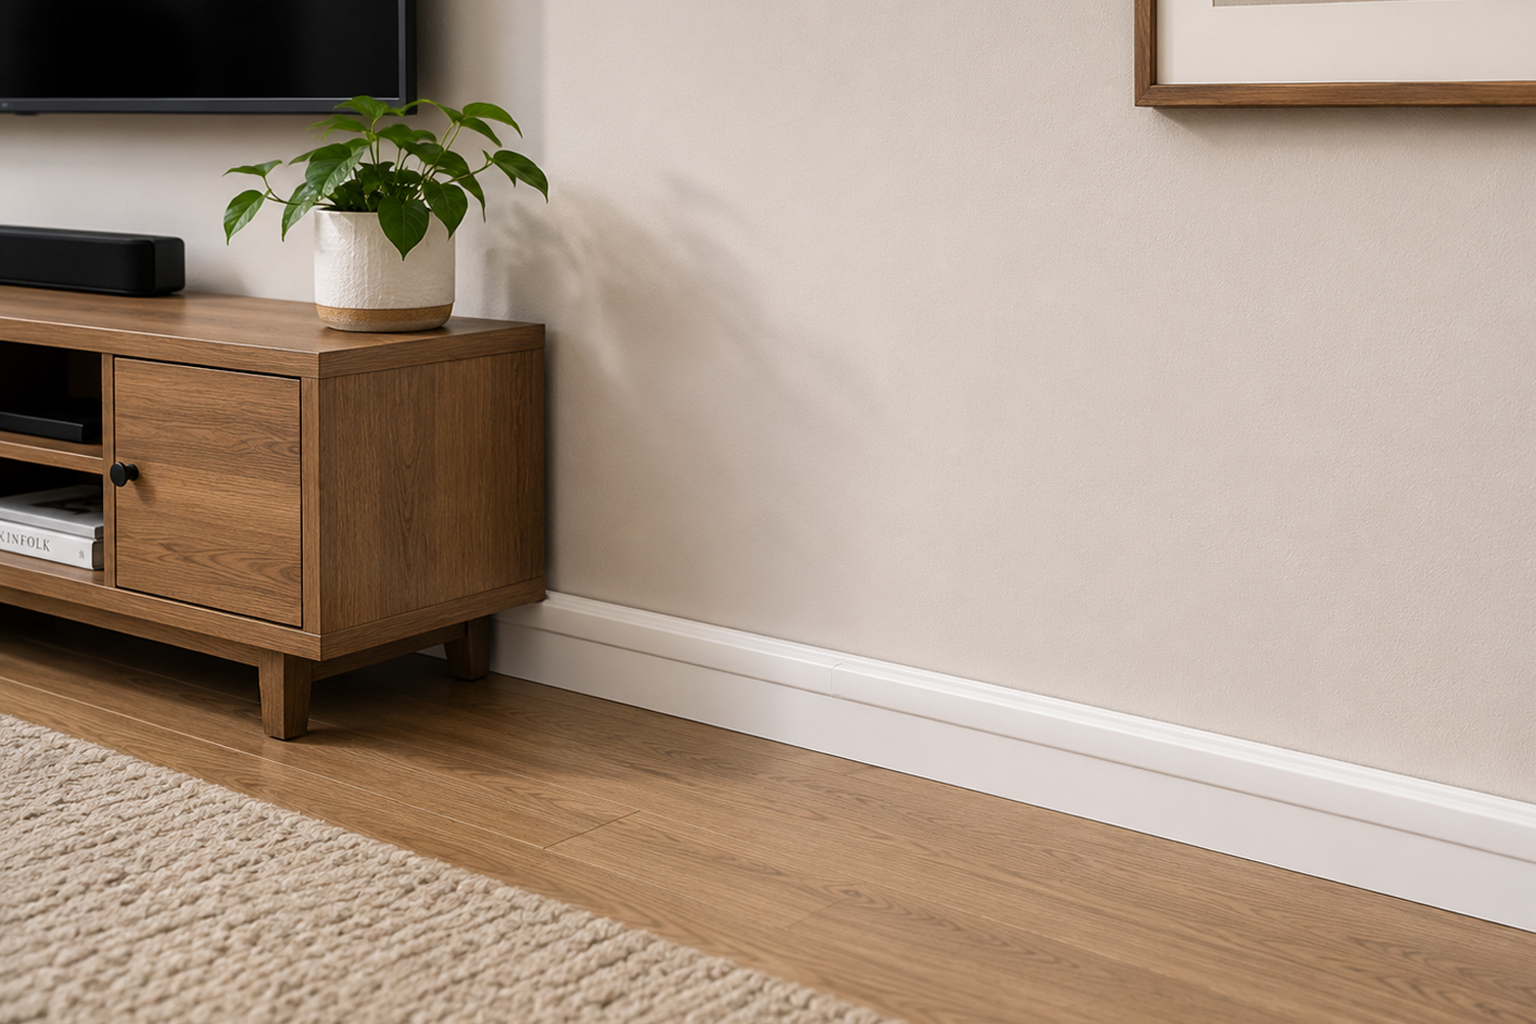
The biggest risk to painted baseboards comes from adhesives that are too aggressive or removed incorrectly. Self-adhesive trunking designed for walls uses a low-residue bond that holds securely but releases cleanly when peeled slowly and evenly.
If you are working on freshly painted baseboards, wait at least two weeks before applying trunking so the paint fully cures. Applying adhesive too soon is one of the few situations that can pull paint away during removal, especially on softer latex finishes that need extra time to harden fully.
Cord Cover Installation Tips for a Cleaner Finish
A few small habits make a noticeable difference in how the finished result looks.
● Press firmly along the entire length of the trunking, not just the ends, to prevent gaps from lifting over time.
● Keep cable bundles slightly loose inside the channel so the front cover snaps on without bulging.
● Match the trunking color to your baseboard, or plan to paint it, for a seamless cord cover installation.
Common Questions Before You Start
A few practical questions come up often before homeowners commit to this project.
Will this work on textured or uneven baseboards? Most self-adhesive trunking bonds best to smooth surfaces, so light sanding or a foam mounting strip can help on textured trim.
Can I remove it later without damage? Yes, as long as the paint had time to cure and the trunking is peeled slowly at a low angle rather than pulled straight off.
How much cable can it hold? Check the trunking's internal width against your cable bundle, and size up if you plan to add devices later.
Why Choose EasyLife Tech Cable Trunking
EasyLife Tech cable trunking is designed for exactly this kind of damage-free, self-adhesive installation along baseboards and walls.
● Self-adhesive and screw-mount options for flexible installation on any surface
● Paintable white finish that blends with baseboards or matches any color scheme
● Multiple size options to handle single cables or bundled multi-line runs
● Durable construction that holds up to foot traffic and everyday wear
● A clean, renter-friendly solution that removes without leaving marks
A Cleaner Baseboard Starts Here
Knowing how to install cable trunking on baseboards without damage turns a messy tangle of cords into a clean, finished look in under an hour, with nothing to patch or repaint afterward.
Ready to give your baseboards a cleaner finish?
Learn More about EasyLife Tech cable trunking and find the right size for your space.
FAQ
1. Can you install cable trunking on painted baseboards?
Yes, cable trunking on baseboards can be installed safely on fully cured, clean, and smooth painted surfaces. Self-adhesive trunking avoids drilling and helps protect the paint.
2. How do you remove adhesive cable trunking without damaging paint?
Peel the trunking slowly at a low angle instead of pulling it straight away from the surface. This helps reduce the risk of lifting paint or leaving adhesive residue.
3. What is the best way to hide cables along baseboards?
Baseboard cable management keeps wires contained and creates a cleaner appearance without cutting into walls. Choose trunking that comfortably fits your entire cable bundle.
4. Can cable trunking be used on uneven or textured baseboards?
Self-adhesive trunking works best on smooth, clean surfaces, while heavily textured baseboards may need additional mounting support. Always check the adhesive manufacturer's recommendations before installation.
5. Is cable trunking better than drilling into baseboards?
For damage-free cable management, adhesive trunking avoids holes, screws, and permanent alterations. It also makes future cable changes and removal much easier.